
So, how does the kiln work anyway???
If you didn’t know, the kiln is the fancy oven we use to…cook…our ceramics! We use an electric one here at The Groggy Rabbit. They’re safe for indoor use and relatively easy to maintain (though not very cheap).
I won’t bore you with the nitty gritty details like element lifespan or voltage. What’s important to know about our process, whether you’re taking pottery classes with us, thinking about getting your own kiln, or are a studio member, is this:
Everything gets fired twice! We have to protect the other work in the kiln! We have to protect the kiln itself!
First, let’s recap on the stages of clay.
Greenware — This is anything that has never been fired. This type of clay CAN be recycled. It’s basically dried mud with some fancy additives. We don’t fire it until it’s 100% dry. Once it’s at that point, we call it bone dry. Our studio members and students leave their completed greenware on the greenware shelf. Then it goes into the next firing and gets heated to around 1900*F, after which it becomes…
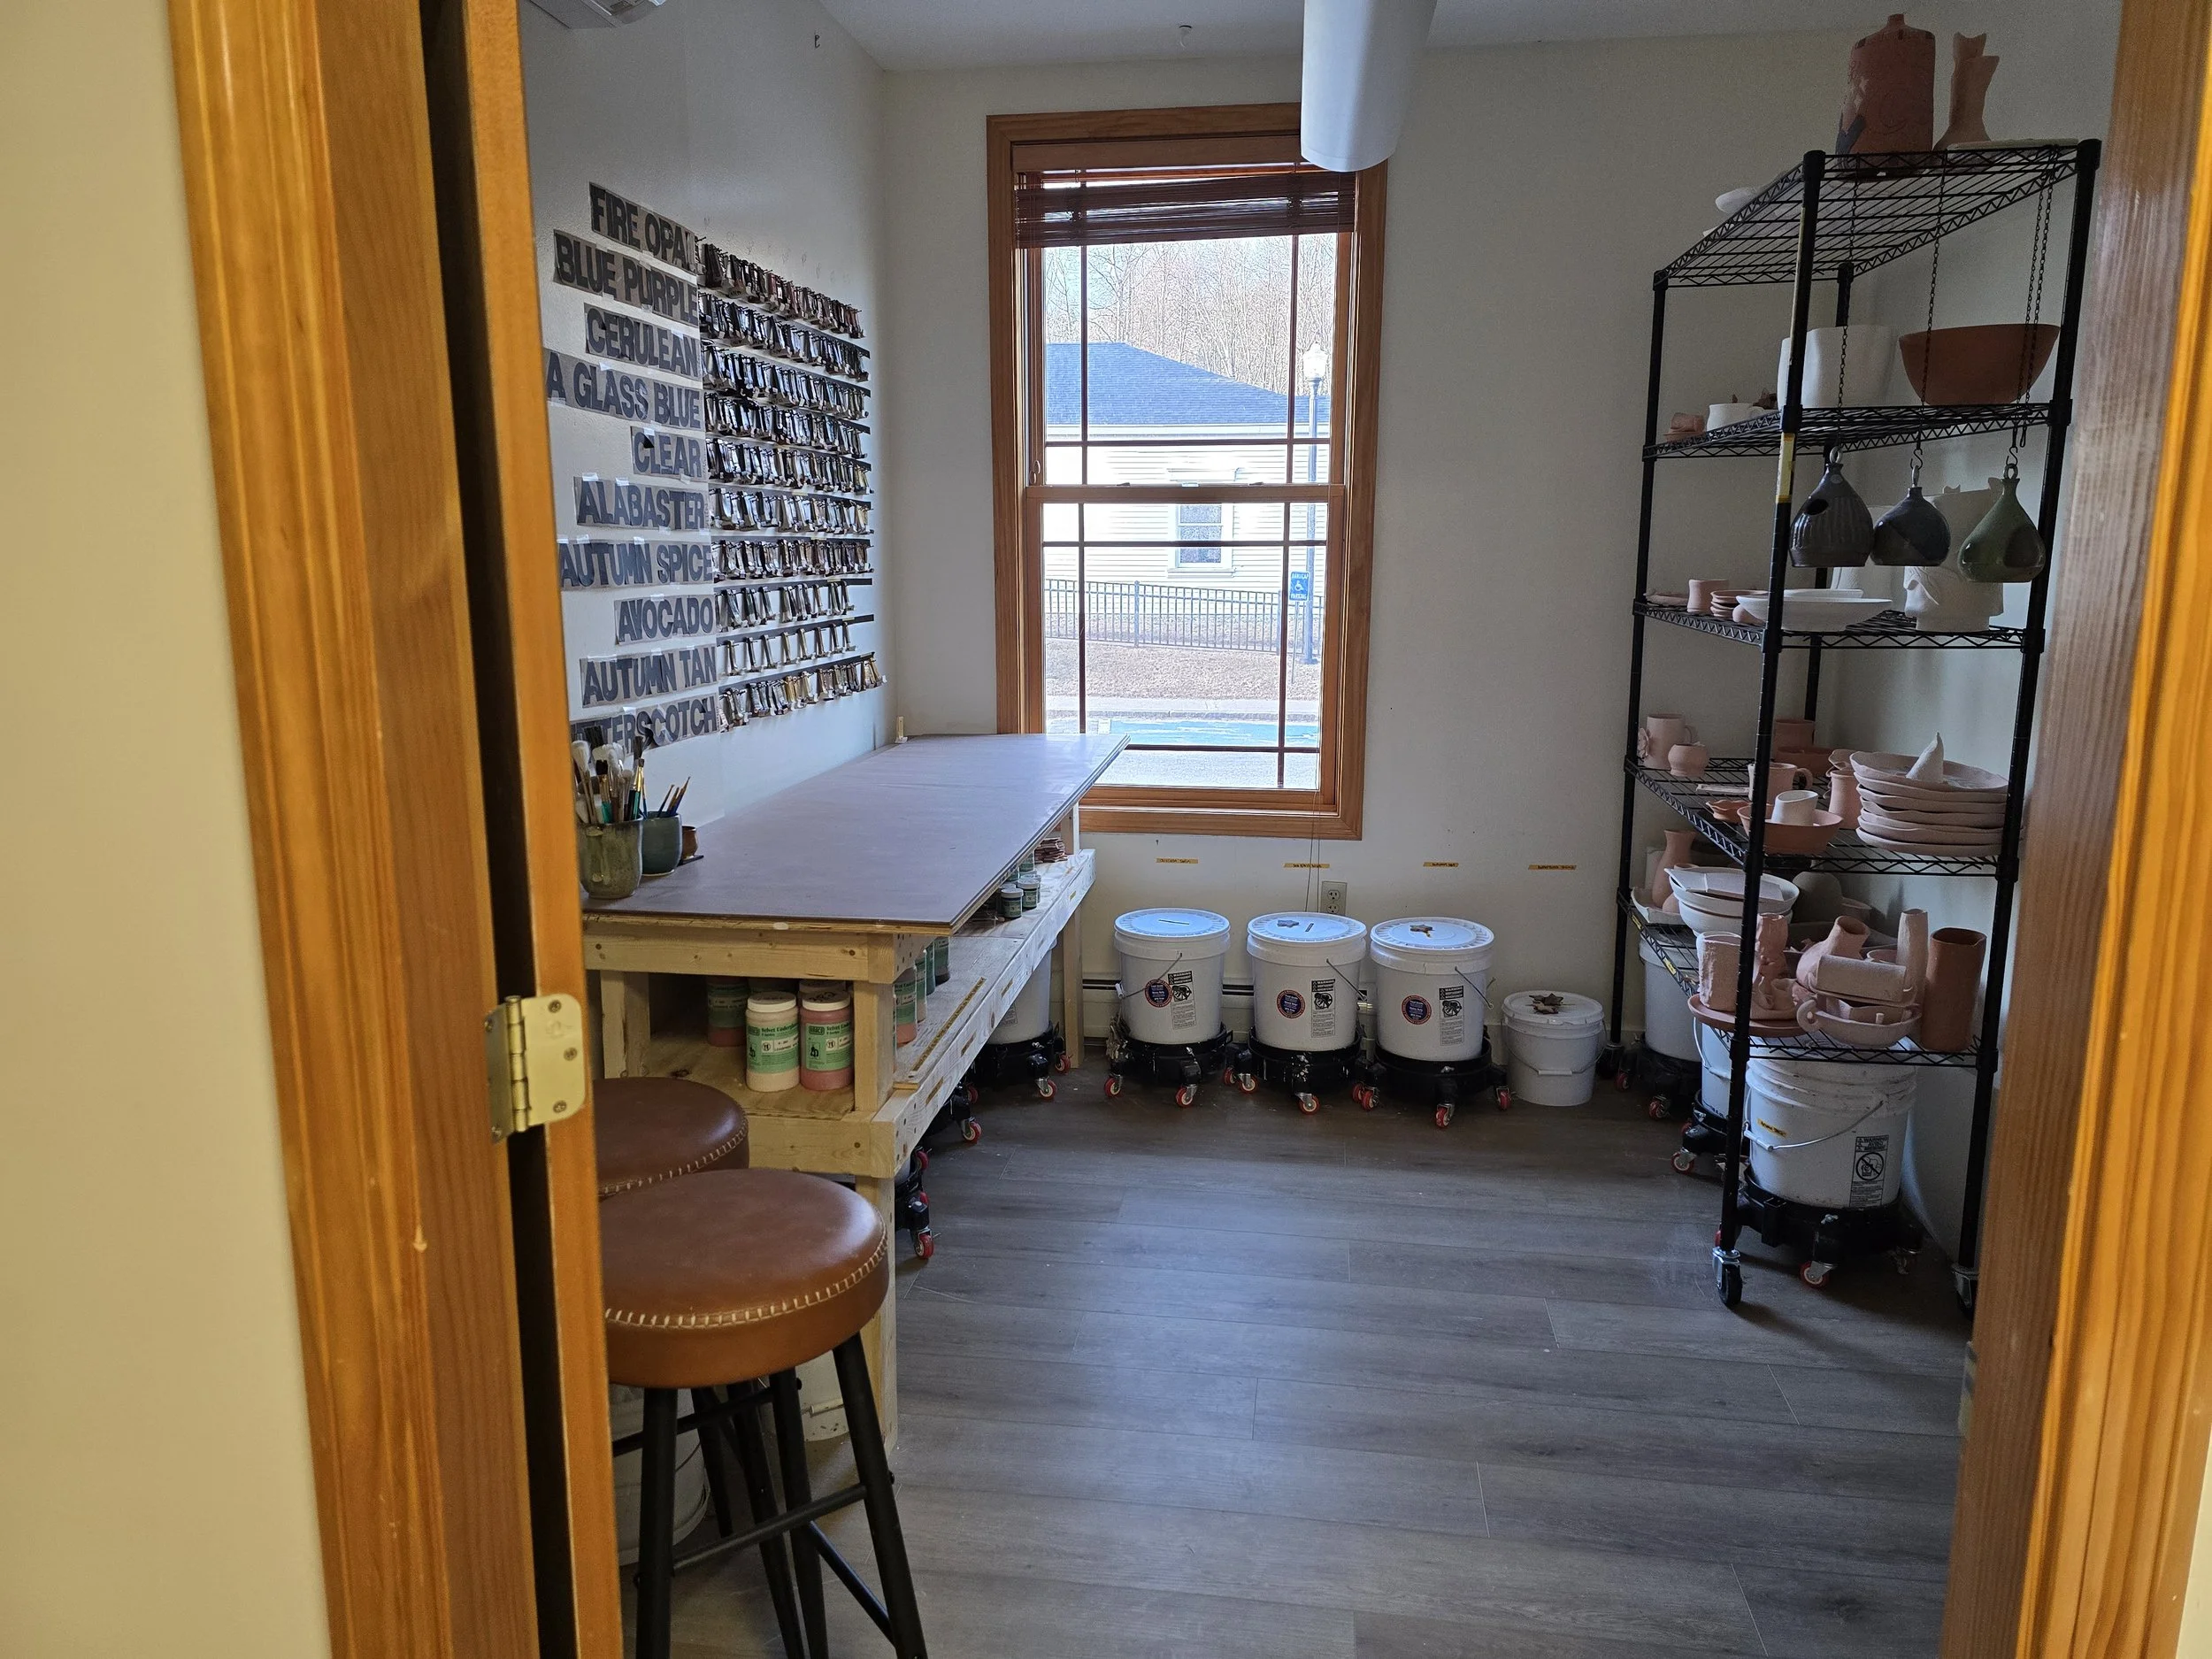
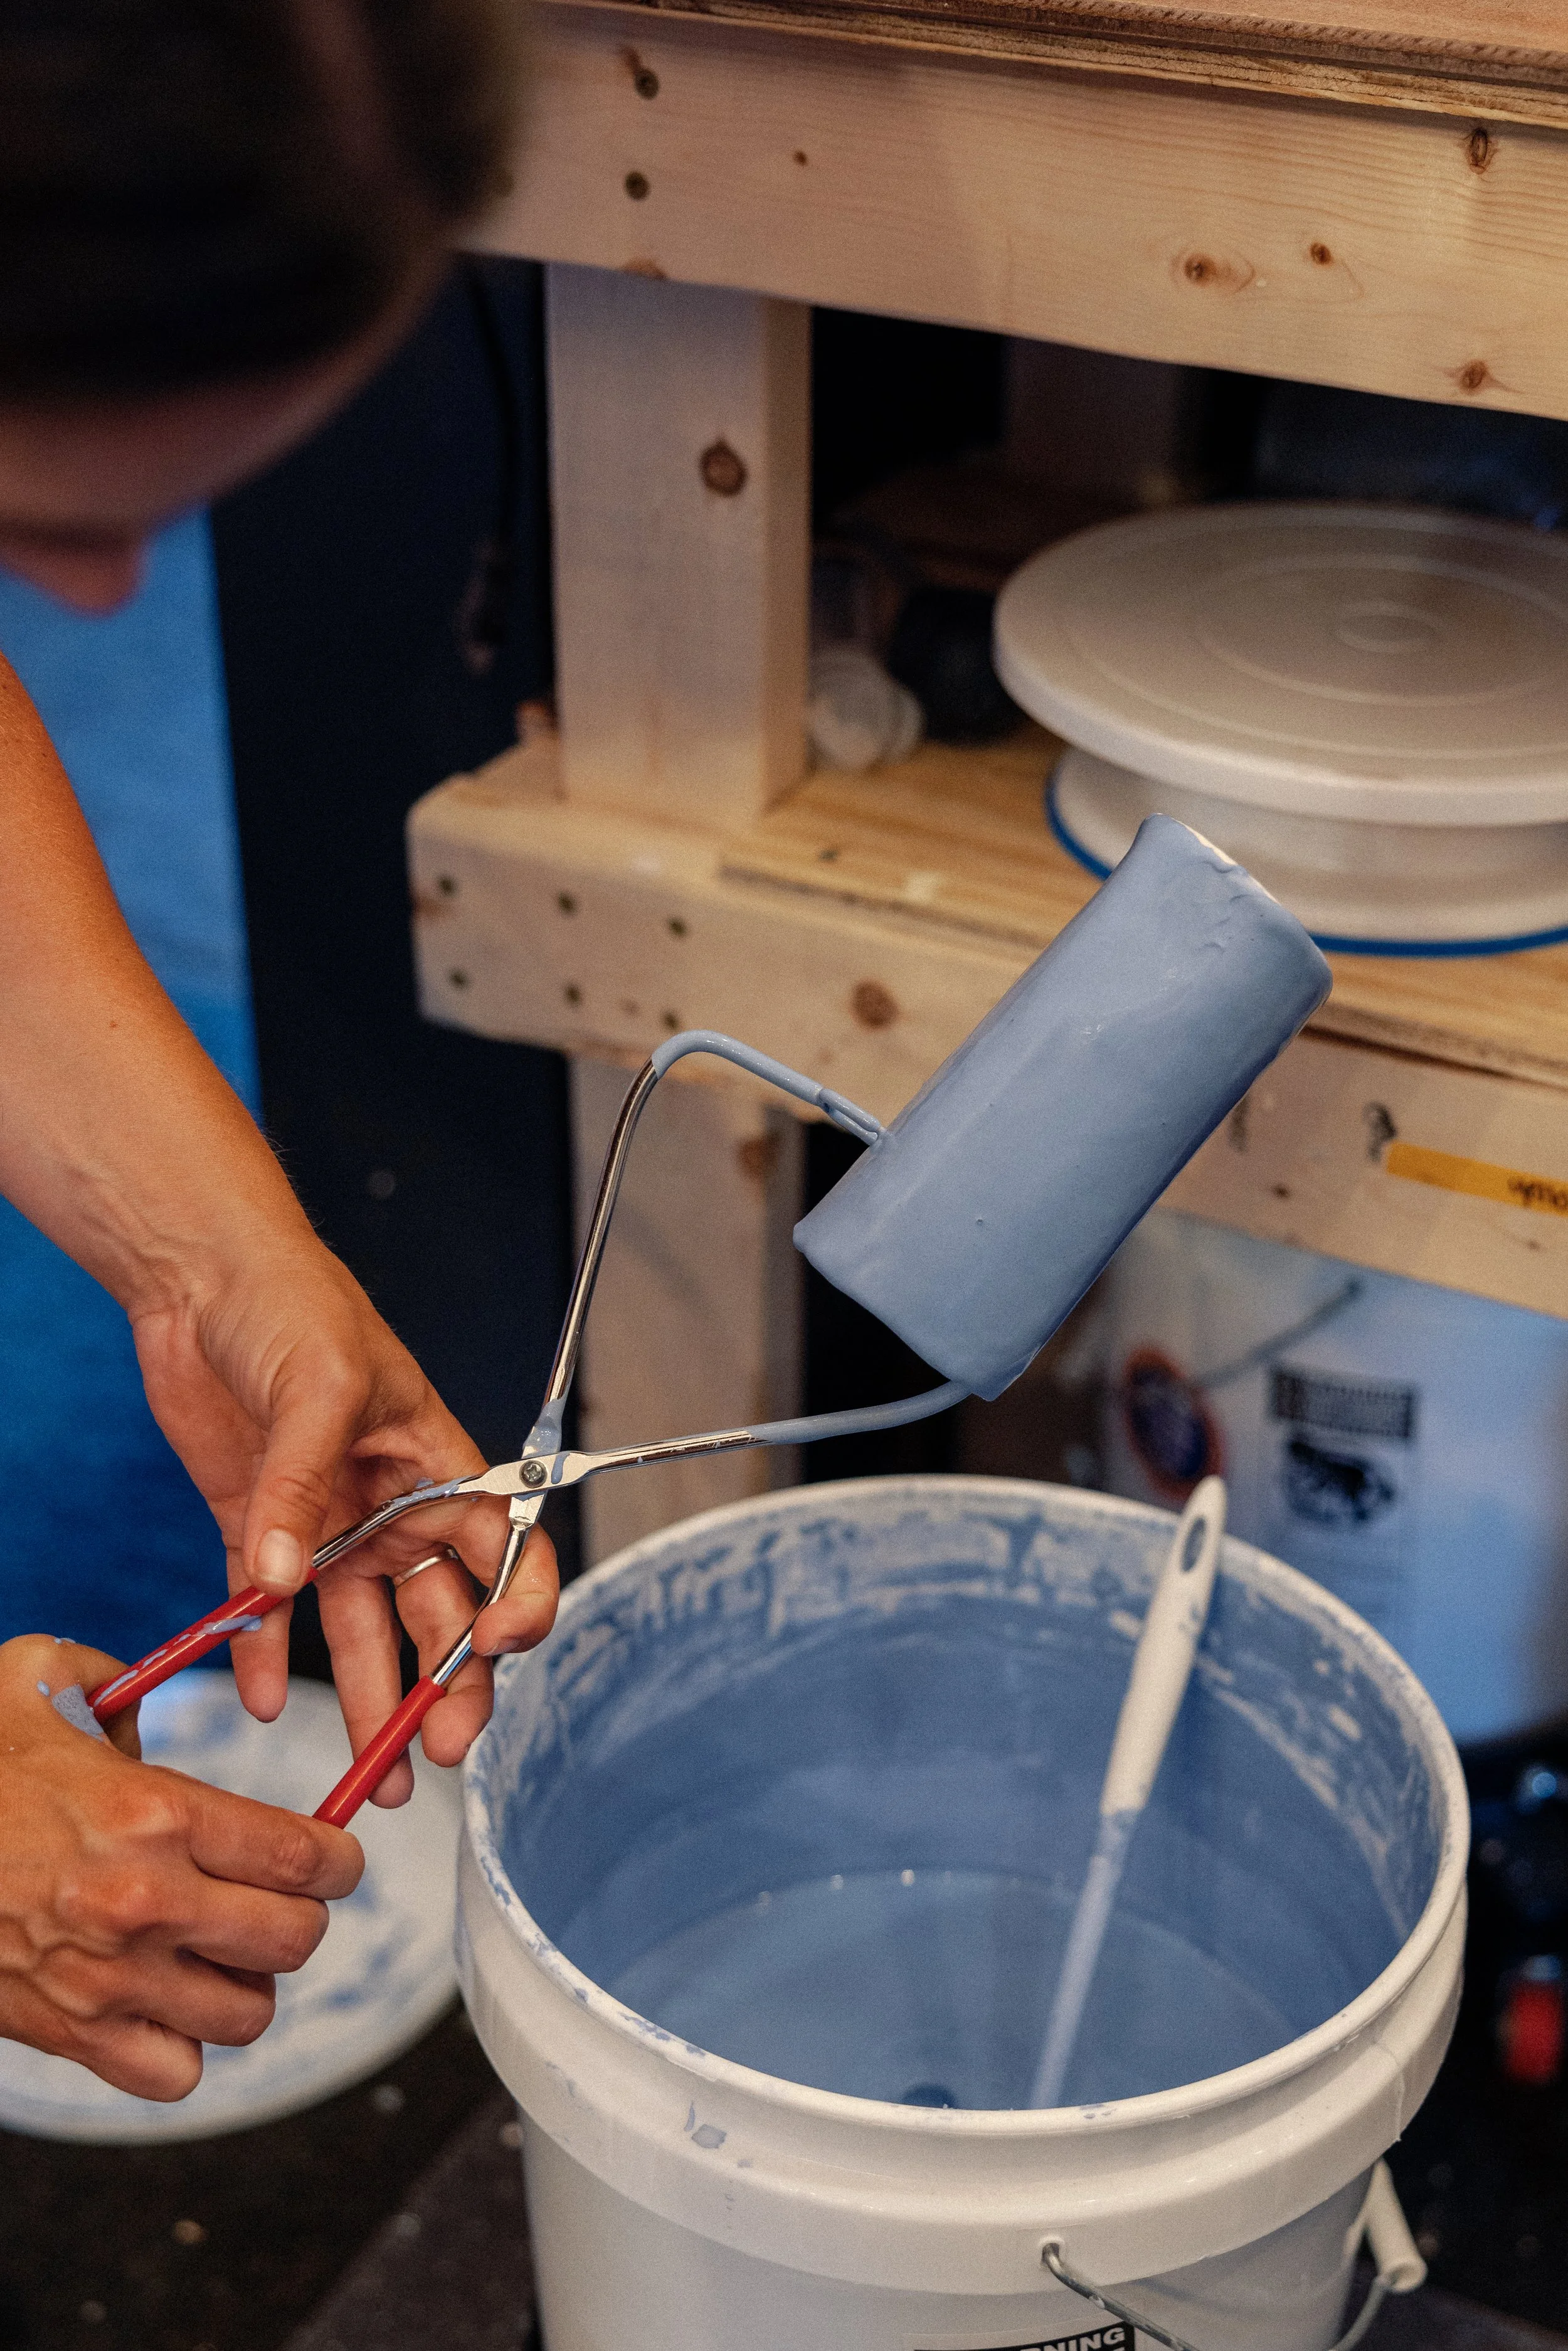
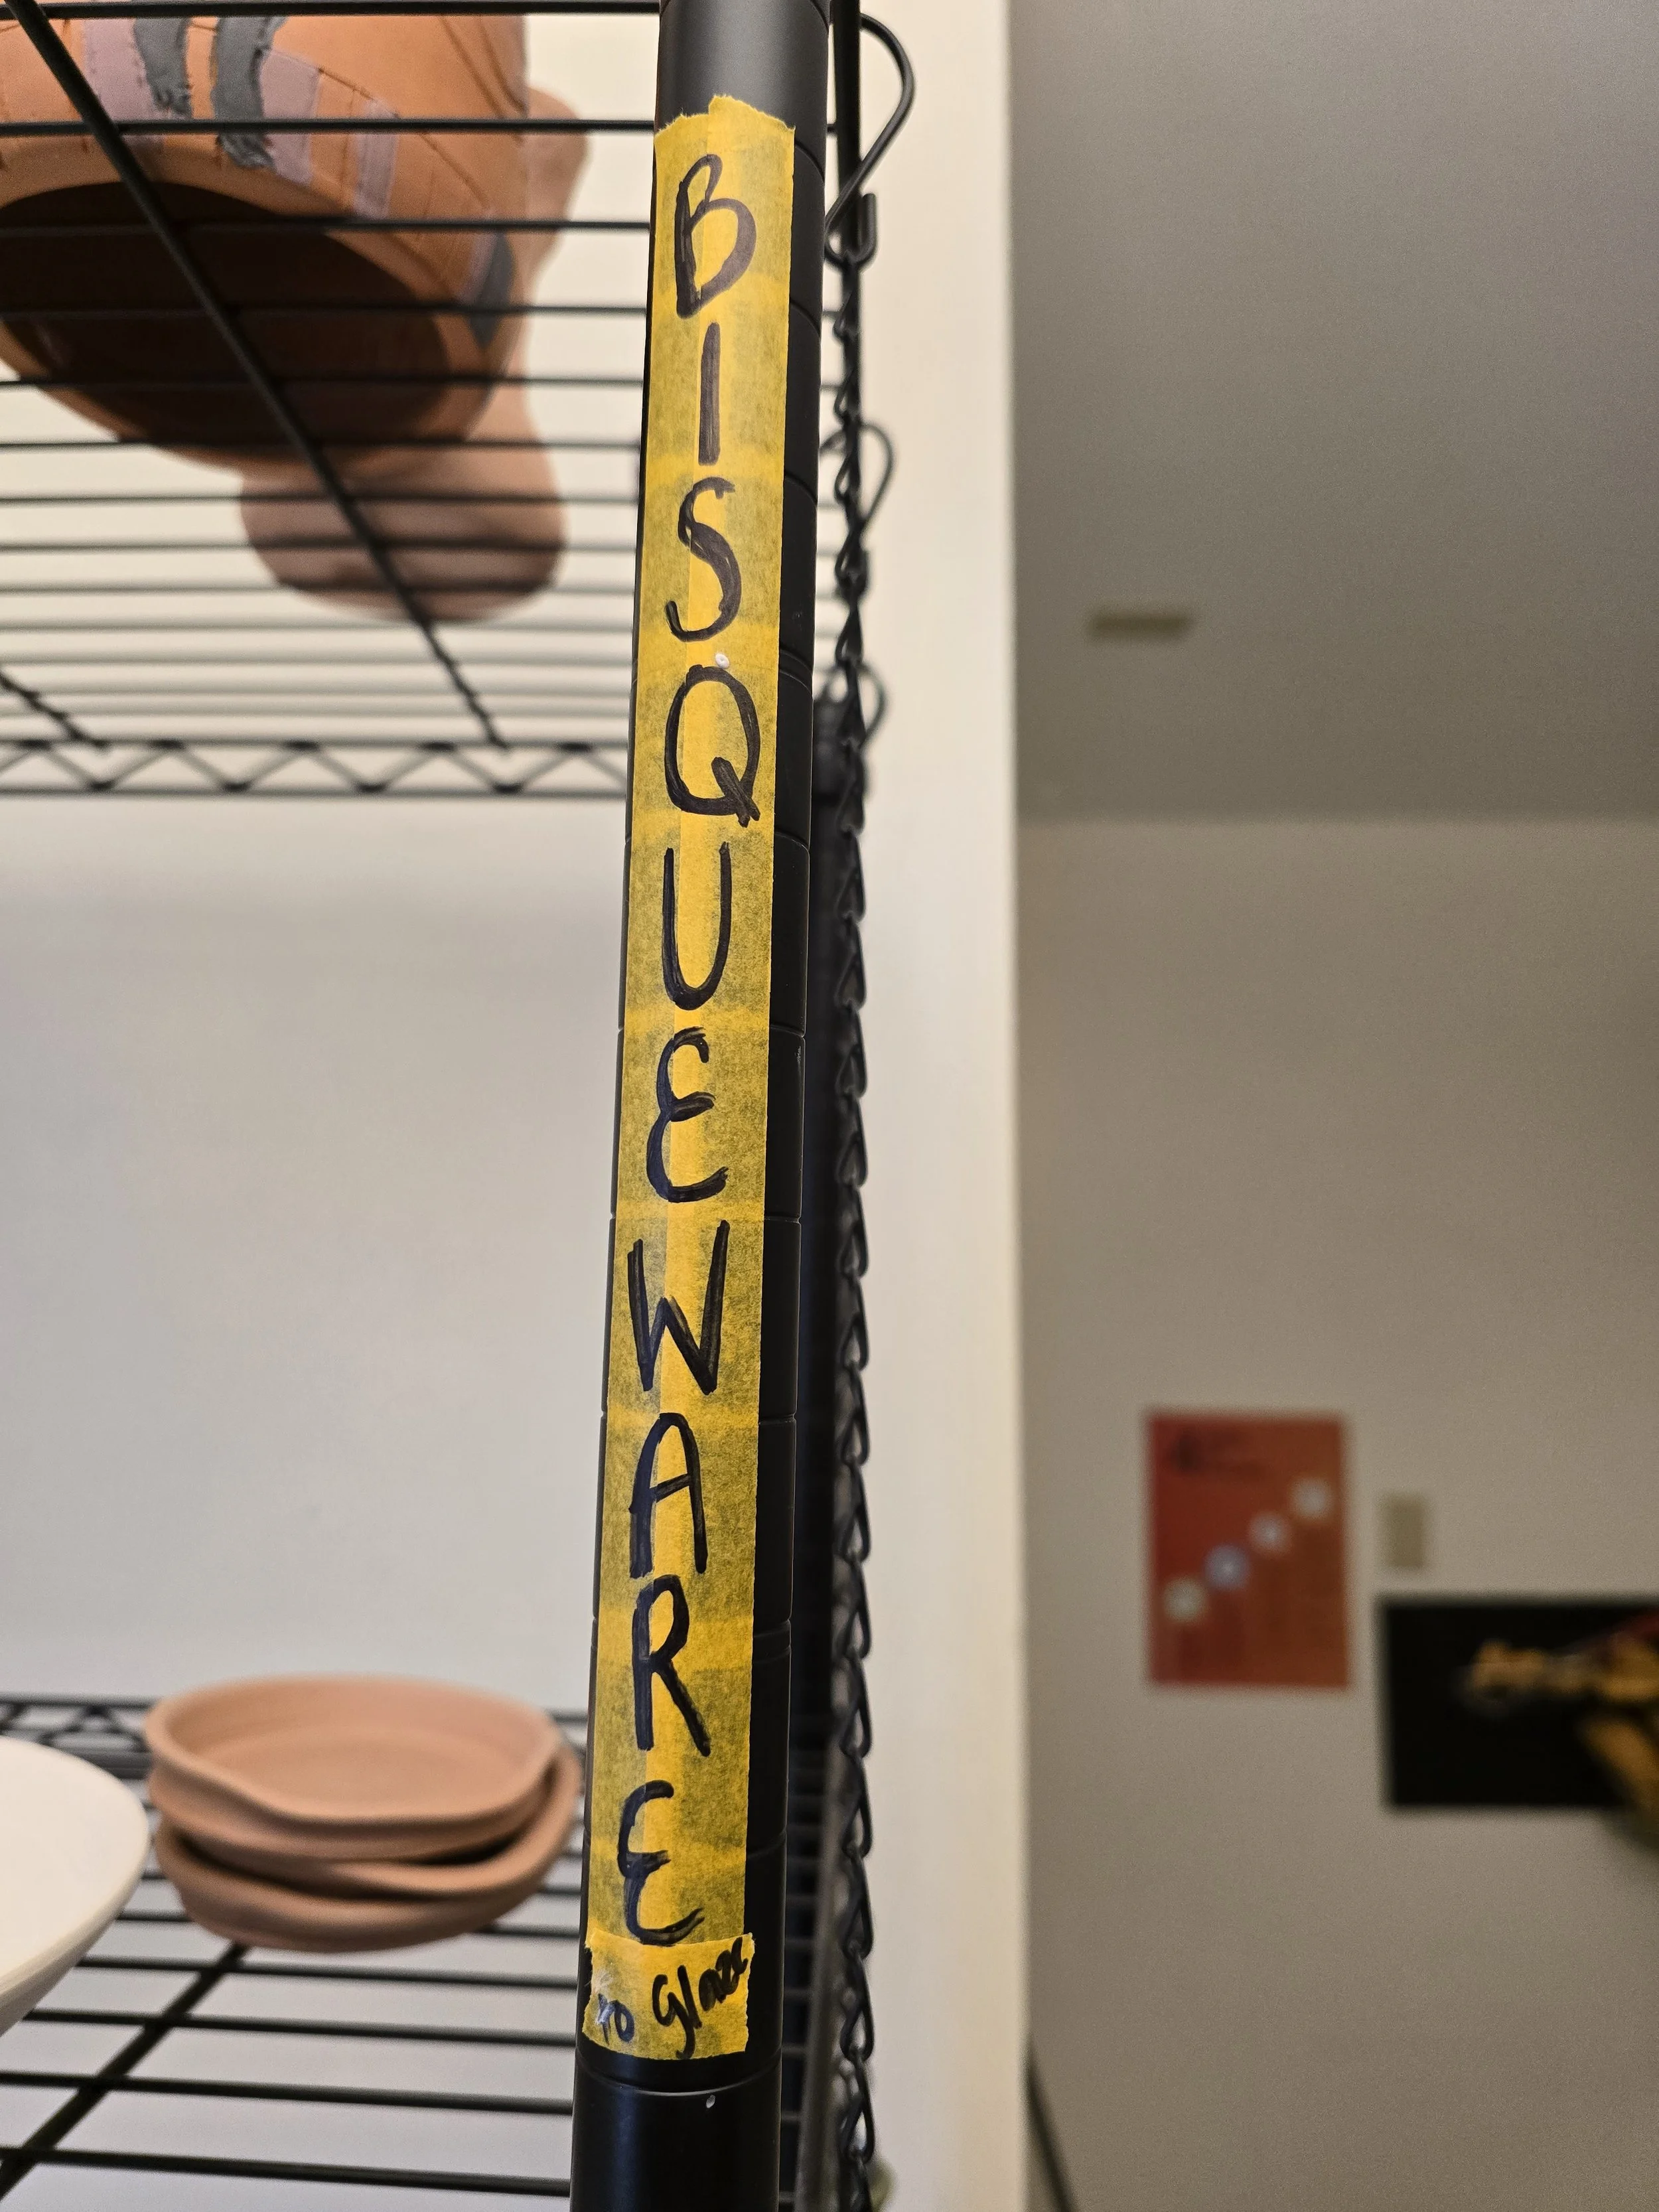
Bisqueware — This is partially fired and not food safe or any of that jazz. You could use it as decoration or a plant pot (that would leak). At this stage, we apply the glaze to the pieces. We can handle them a little easier because they’re no longer as fragile! Our bisqued pieces go into the glaze room. Once they’re glazed, they get fired again and become…
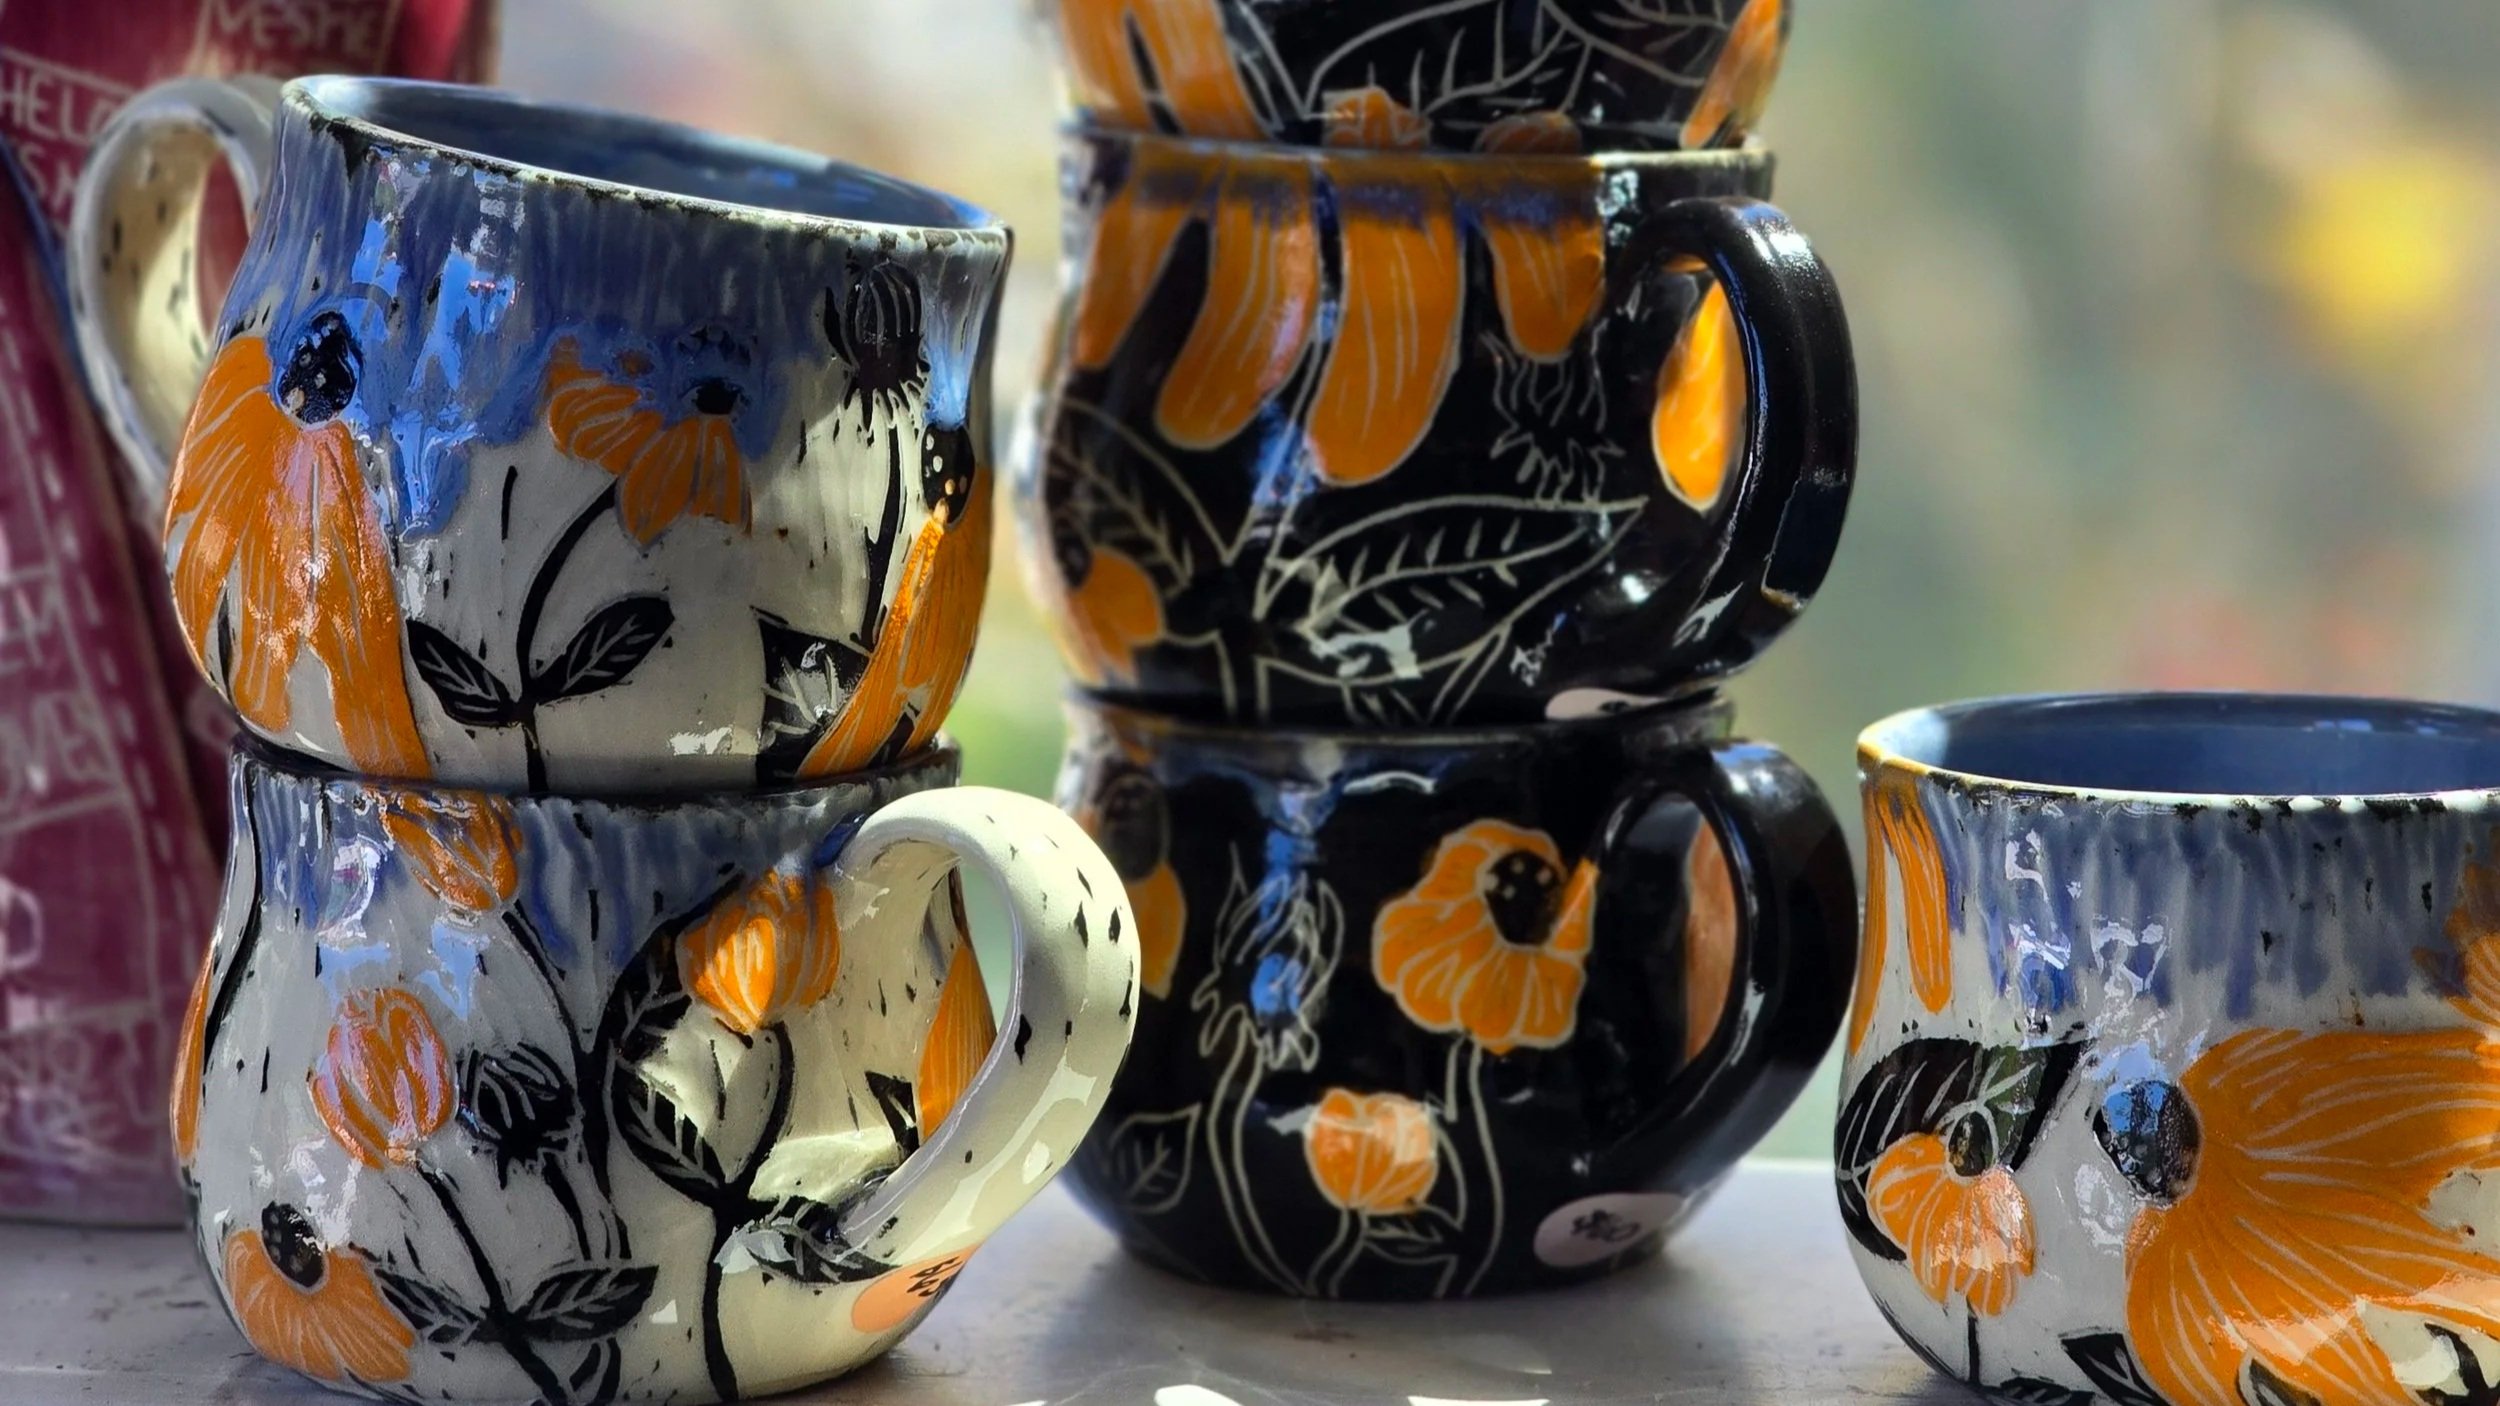
Glazeware — Once items have been glazed, students and members put them on the glaze shelf. These pieces have powder on the exterior that will become glaze as it melts. Once it’s been fired to around 2200*F, it’s finished, beautiful, and food safe!
All of our glazing happens here, in the glaze room. The only items able to be glazed are on the shelf in this room!
Why can’t you glaze greenware?
Some artists do what is called single-firing or once-fire, where they apply glaze to greenware. We don’t do this because our glazes are not formulated to work well on greenware. Since we’re a community studio, the risk is really significant. If someone glazes a piece of greenware and it is not 100% dry, it could explode in the kiln. Yep, EXPLODE. Think shrapnels of melting glass and stone flying around and knocking over others’ work, sticking to others’ projects and absolutely destroying kilns shelves (which are $120 a pop for not super nice ones).
Even if your greenware piece is 100% dry before you glaze it, glazing re-introduces water to the piece and, so, its dryness isn’t guaranteed. Who knows. BOOM! There goes your piece. And your hopes and dreams. And the hopes and dreams of others around you.
No thanks!!! We’ll glaze bisqueware, k?
We run the kiln when it can be filled completely. This takes a bit of jigsawing to make happen and the pieces waiting around the longest aren’t always the pieces that fit in the kiln. We do our best to move everything through promptly, but that jigsaw puzzle is the most important because it allows us to be efficient with our space and electricity.
For bisque firings
Everything has to be 100% dry! 100% dry! One-hundo percento! Bisque firings are fun because we can stack items in other items or on top of other items. You can check out this video on my instagram for an example of what I’m talking about! Or this terribly edited video on our studio Instagram to see what we fit in a bisque firing!
We try to pack the kiln as full as possible. My goal is to get 2 glaze firings from every bisque load. Sometimes I manage to do it, sometimes deadlines mean the bisque kiln is a little more empty than other times! We run it on a slow program to allow all of the organic materials in our darker clay bodies to burn out so we don’t wind up with gas bubbles in the glaze firing.
It takes roughly 24-26 hours to get up to temp and then cool enough to empty.
For glaze firings
Glaze firings are a little more strict. We cannot stack items inside each other because the glaze would cause them to fuze into one piece. We cannot have any glaze on the bottoms of our pieces because they would fuse to the kiln shelf. We cannot have any pieces too close to touching because the glaze expands a little and could stick to other pieces.
We also have to make sure that we place pieces simliar in height on the same shelf! This allows us to maximize space! The shelves get stacked and have to be 1/4” higher than the pieces on the shelf below them. (Again, so they don’t stick.)
At this stage, we also worry more about pieces warping or shelves warping. Heavy items, for this reason, have to go on the bottom shelf. Lastly, our kiln is limited by size! We can fit up to 22” pieces by around 26” pieces in the kiln! So either your pieces could be a max of 26” inches tall or 22” wide! Any wider or taller and it won’t fit.
What to Keep in Mind…
Soooo…what does this have to do with your work? Well there’s a few ways this can inform what you do.
Make sure you’re putting your pieces on the right shelves.
Greenware on the greenware shelf, items to be glazed on the glaze shelf. Only glaze things that are on the bisque shelf. We label these shelves, so it’s easy. If you’re making in a different pottery studio, be sure to follow their steps. If things are on the wrong shelves, you’ll get a notice! If it happens again, your pieces will be rejected. Boo!!!Know that large items can take longer to get through the kiln.
If you’re working on a set of dinner plates, large platters, large bowls, sculptures, etc., they can be harder to fit in that jigsaw I mentioned earlier. If they’re really heavy and have to go on the bottom, they’ll need to wait until they have enough friends of a simliar height to fill that shelf before they can get fired. Sometimes we get plates that are larger than our half-shelves (which are what give us flexibility in stacking). Instead, they have to go on a “full” shelf (a round 22-21” shelf). In these cases, they have to wait until there are little flat items to fill up the rest of that larger shelf. It sounds complicated, but if you think of it like a puzzle, I promise it will make more sense!Be aware of glaze! Be sure to thoroughly clean your pots so they don’t stick to the shelves. Having an awareness of runny combos is equally as important as cleaning your bottoms! Cookies help! When glazes run on the kiln shelves, it’s a lot of work to scrape them, then grind them, then re-paint them in a protective wash. It takes an entire day—if I’m lucky! When too many shelves aren’t able to be used due to glaze damage, the kiln schedule gets behind, which slows everyone up.
Really large work is sometimes better if fired in pieces. Not broken pieces, of course! But sculptural work is often better when segmented. You’re able to handle it more safely AND it can fit in the kiln better!
What can I do to be a better kiln friend?
Make work you love! Seriously!
Ceramic items will outlive you. And your children. And your children’s children. And, quite possibly, your civilization. Once we make them, they’re here to stay. Totally worth it if you love what you’re doing!
If there’s a piece you don’t love, but still want to fire, find a way to make that an intentional thing. Use it as a glaze test, a plant pot, etc. Otherwise, why fire it?
Be mindful of your forms!
If something doesn’t need to be really thick, thin it out! I’m never going to tell someone to make really thin items. I think the weight of your piece is something that changes as you grow and learn, but I also think that weighty items feel better to some than others. I’m not going to judge how you like to use the things you make. I, personally, make items that some potters consider heavier. I like the weight in my hand.
That being said, you’ll know if something is wicked heavy. Trim your stuff well to make sure it’s where you like it!
Take glazing seriously! Use a cookie!
Want to use a luscious, runny glaze combo? Amazing! Those are some of my faves. BUTTTTTT. They can wreck absolute havoc in the kiln! Make sure you’re either 1) leaving enough of a buffer on the edge to prevent the glaze from running all the way down 2) only using those combos on the inside of things where they cant’ run onto the shelf or 3) using a cookie just in case.
It’s always good practice to use a cookie until you know how a glaze responds!
That’s the jist of it! Now you know more than the average person about pottery kilns and how they are used!
You could take a week-long seminar to understand the complexities of a kiln. I certainly can’t claim to understand them all, but knowing more about how they are used, stacked, fired, and how to keep them in good shape is all you need if you’re using a community pottery studio.
Remember, our studio is nestled up in the White Mountains of New Hampshire. We don’t have a ton of traffic and we don’t pump out a ton of finished work! We’re here for vibes. For fun. For community.
A bigger studio might have a different approach, and that’s okay! But now you know a little about ours. :)